Last updated November 18, 2026




Free written scope consultation - allowances, timeline, and change-order rules on paper before a single trade is scheduled
Driveway & Pavers Troubleshooting in Boulder City: Common Problems and How to Fix Them
When pavers start rocking in isolated patches or a section settles after one summer, the product is almost never the culprit. The problem started below the surface, in the base prep, and patching the top without addressing the base just delays the same failure by about 18 months. Boulder City homeowners often blame the pavers themselves and call for a replacement quote when a targeted repair would solve the issue. We’ve torn into enough failed installs to know the difference by sight: the symptom you see on the surface points to a specific defect underneath. This guide maps each symptom to its cause, walks through the fix, and helps you decide whether a spot repair or a full re-lay makes the better ten-year financial choice.
Quick Answer
Most paver problems in Boulder City come from base failures, not bad pavers: rocking means a void under the sand bed, isolated sinking usually traces to a disrupted caliche layer or sub-base compaction issue, white haze (efflorescence) is a moisture and salt migration problem, and edge blowout signals failed restraint. Spot repairs work when the base under the failed area is still intact; full re-lay makes better economic sense when the failure covers a large area. Get the diagnosis right before you spend money on top-layer fixes.
Styles & brands we work with
- Kitchen remodeling
- Bathroom remodeling
- Home additions & ADU
- Roofing
- Windows & doors
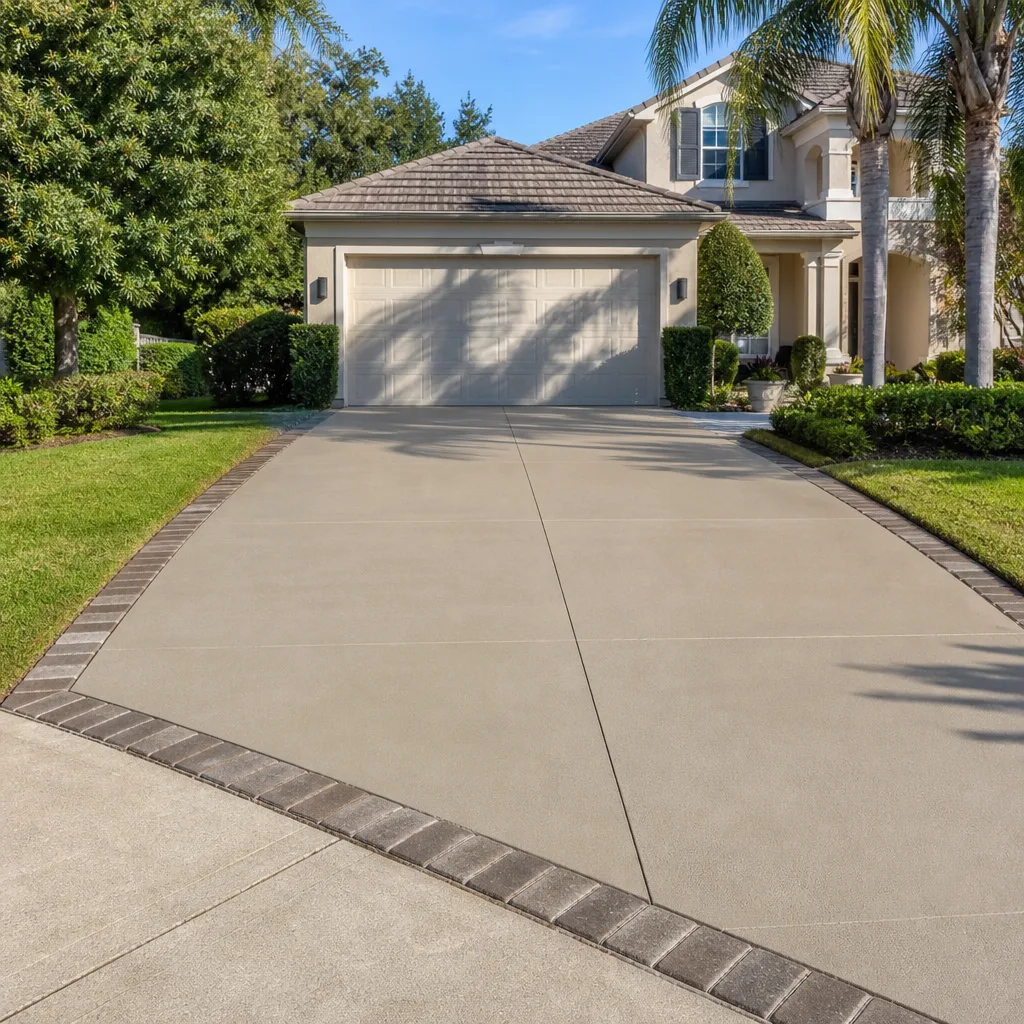
- Driveway & pavers
- Fence
Table of Contents
- Symptom-to-Cause Diagnostic Chart
- Why Are My Pavers Rocking or Sinking?
- The Caliche Layer Problem Nobody Warns You About
- What Is the White Haze on My Pavers?
- Why Is My Paver Edge Blowing Out?
- Heat Cycles and Polymeric Sand Breakdown
- Repair vs. Re-Lay: The Ten-Year Decision
- How to Prevent Repeat Failures
Symptom-to-Cause Diagnostic Chart
The fastest path to the right repair starts with a careful look at what your driveway is doing. Each visible symptom maps to a different root cause, and mixing them up wastes money. Here’s how we read the signs, in a format you can walk your own driveway with.
- Pavers rocking when walked on: Sand bed has thinned or washed out, leaving a void. The joint sand no longer supports the unit. Fix: pull the affected units, re-level the bedding sand, reset and re-sand.
- Isolated sunken section (a “bowl” shape): Sub-base void, usually from caliche disruption or inadequate compaction during excavation. Fix: remove pavers, rebuild sub-base in lifts, compact, reset.
- White powdery haze on the surface: Efflorescence, meaning soluble salts migrated to the surface. Fix: dry-brush, evaluate moisture source, apply appropriate cleaner once the cause is addressed.
- Edges spreading outward or pavers sliding at the driveway perimeter: Failed edge restraint, undersized restraint, or spikes backing out. Fix: replace restraint with the correct profile and proper spike depth.
- Joint sand washing out after rain: Polymeric sand breakdown, accelerated by heat cycles plus improper installation or over-wetting. Fix: re-sand correctly with proper joint depth.
- Hairline cracking across multiple pavers in a line: A base movement pattern, not individual paver defects. Fix: investigate the sub-base along the crack line before touching the pavers.
If you get this diagnosis right, the repair becomes straightforward. Get it wrong and you’ll be back at the same spot next season. When you’re ready to have the base evaluated properly, our driveway & pavers team can walk the property with you and give you a written assessment.
Why Are My Pavers Rocking or Sinking?
Rocking pavers mean the unit has lost support from below. The joint sand that locks pavers together has thinned, washed out, or never filled to the correct depth, so each unit moves independently under weight. Sinking is a different failure: the entire assembly, pavers plus bedding plus sub-base, has lost elevation. The first is a bedding problem; the second is a base problem. They look similar from standing height and require completely different repairs.
In Boulder City, we see several patterns producing each type:
- Rocking in a scatter pattern: Usually means sand loss from the joints over one or two heating seasons. Polymeric sand that didn’t cure properly, joints that were underfilled, or a light rain immediately after install can all leave the sand short.
- Rocking concentrated along a tire path: Bedding sand was not screeded evenly; the heaviest loaded zone settled first.
- Sinking over a wide section: Sub-base compaction failure. Base aggregate was laid too thick per lift or not compacted wet enough, so the whole section settled uniformly after the first monsoon.
- Sinking in one tight spot: A void. Often a chunk of caliche broke loose during excavation and left a hole in the sub-base that later collapsed under load.
To check which you have, stand on the suspect pavers and shift your weight slowly. If individual units click or rock while the neighbors stay put, you likely have a bedding issue. If the whole group moves together, that’s a sub-base settlement. Walk a straight edge across the area: a uniform dip over a wide area means base; a sharp localized dip means void.
Rocking repairs are quick and, done right, permanent. Sinking repairs need the base rebuilt in lifts, which means lifting the affected section, re-compacting the sub-base, and resetting. If the failure is confined to one small zone the repair is worthwhile; if the settlement runs across the whole driveway, the base was wrong end to end and spot repairs will chase the problem indefinitely.
The Caliche Layer Problem Nobody Warns You About
Boulder City sits on desert ground with a hard, cement-like caliche layer just below the surface in most residential areas. Caliche is calcium carbonate that has bonded the soil into a rock-hard crust. It’s excellent as a base if left intact, and terrible if a contractor punches through it incorrectly during excavation and doesn’t deal with the void it leaves behind. This is one of the most common root causes of paver failure in the Boulder City area, and it rarely gets named in a failure report.
Here’s what happens. When a crew excavates for the paver base, they hit caliche at some variable depth. If they break through in the center of the driveway but leave intact caliche at the edges, the caliche “shelf” that remains puts uneven support on the new sub-base. Once loaded, the sub-base compacts more in the excavated zone than near the intact caliche, producing a subtle tilt across the whole drive. The homeowner sees what looks like general settling; the actual cause is the transition between cut and untouched caliche.
A second pattern is worse. A chunk of caliche gets broken loose but not fully removed, and the sub-base gets placed over the pocket. The void holds until it doesn’t: heavy load, moisture, or a seasonal temperature swing triggers collapse, and a localized section drops. These “caliche voids” produce exactly the tight, sharp-dip sinking pattern described above.
The right fix depends on what’s under the failed section. If the caliche is intact and supported, the repair is standard. If there’s a void to deal with, the crew has to remove pavers and base, open the void, backfill and compact in layers, then rebuild the base full depth. Skipping that step just moves the failure six months down the road.
If you’re planning a new installation or a full re-lay, ask the contractor how they handle caliche transitions during excavation. A written estimate should state the approach, not just a per-square-foot number. Call us at (888) 329-9854 if you’d like the base on your property assessed. We answer 24/7.
What Is the White Haze on My Pavers?
Efflorescence is a white, powdery deposit that appears on paver faces as water moves through the concrete and carries soluble salts to the surface, where they dry and crystallize. It’s cosmetic, not structural, but it makes a driveway look neglected and, if ignored, can etch the surface over many seasons. In Boulder City, the hot, dry climate mixed with irrigation overspray makes efflorescence a recurring problem on pavers near planting beds, drip lines, and shaded areas.
Diagnosing efflorescence correctly means identifying the moisture path. There are three common ones:
- Irrigation overspray hitting the pavers repeatedly. Adjust or replace the sprinkler heads so water lands on the landscape, not the hardscape.
- Standing moisture under the pavers from poor drainage. Check that the sub-base slopes away from the house and toward a drain or daylight. If the base is trapping water, the surface haze is a symptom of a bigger problem.
- Surface moisture in the paver itself after installation. Fresh pavers can release salts for the first several months. If the haze appeared right after the job, it’s often a one-time release that clears with proper cleaning.
Cleaning is not scrubbing with a wire brush and hoping. Cleaner choice matters: an acidic cleaner works on typical efflorescence but can damage some finishes, and pressure washing too hard can raise the surface profile. Dry-brush first, use the correct product, then rinse and let it fully dry before evaluating. If haze returns within a month, the moisture path wasn’t fixed and the cleaner alone won’t solve it.
We work with Belgard, Unilock, Techo-Bloc, and Cambridge Pavers on installs and can help track down the moisture source behind recurring efflorescence. Sometimes it’s as simple as repositioning a sprinkler head; sometimes it’s a grading issue under the driveway that was there all along.
Why Is My Paver Edge Blowing Out?
Edge restraint failure produces a familiar failure pattern: pavers along the perimeter of the driveway slide outward, the joint gap widens, and eventually the pavers at the very edge tilt or pop loose. On a Boulder City driveway, edge blowout is usually a restraint problem that emerged under the combination of desert soil expansion, heat, and insufficient restraint profile. It’s one of the more expensive-looking failures and one of the cheapest to fix when diagnosed early.
The most common edge-restraint patterns we see:
- Spikes backed out: The restraint was spiked into loose soil rather than compacted base, and months of thermal cycling worked the spikes upward. The restraint eventually lifts and the pavers spread.
- Undersized restraint for the load: A light aluminum or plastic edge product used on a residential driveway that carries a heavy truck or boat. The restraint profile was specified for a path, not a vehicle load.
- No mechanical fastening at all: Some cheap installs rely on the restraint sitting in the joint and being pinned by paver friction alone. In desert soil, that never holds long.
- Improper restraint placement: The restraint sat too far from the pavers or too low relative to the paver surface, so it never engaged the pavers before load pushed them outward.
The fix depends on which pattern you have. The right approach is to lift the affected edge pavers, remove the failed restraint, cut back any undermined soil, set a proper restraint profile on a compacted base, spike it correctly, and reset the pavers. Slapping down a new piece of edging over a failed one just repeats the failure.
We’ve also seen edge failure begin at driveway aprons where the paver assembly meets concrete. That transition point concentrates stress, and a restraint under that location needs a solid base and proper spikes to hold. If your pavers near the apron are spreading, the fix usually begins under the edge, not at the face.
Heat Cycles and Polymeric Sand Breakdown
Polymeric sand is the joint stabilizer that keeps pavers locked together. Done right, it lasts years. Done wrong, or exposed to repeated harsh heat cycles, it breaks down, and once the joints open up everything else starts going wrong: pavers rock, water gets in, edge restraint gets undermined, and efflorescence follows. Boulder City’s combination of extreme summer heat and occasional hard rain is hard on the joint material, and the wrong installation makes it worse.
Here’s what proper joint sand looks like versus a cover-up:
- Joint depth: Joints should be filled roughly two-thirds to three-quarters of their depth, not just topped off. A thin cap of sand over a hollow joint fails fast.
- Application: The sand needs to be swept in thoroughly and worked into the joints, then the surface cleared so none remains on the paver faces.
- Water activation: Polymeric sand needs the correct water application per the manufacturer’s spec. Too little water and the polymer never activates; too much and it washes out before curing. A light mist is not the same as a proper wetting.
- Cure time: No foot traffic or vehicle traffic until the cure is complete per the product spec. This is where many “quick” jobs fail.
When polymeric sand breaks down, the correct repair is to remove the failed joint material completely (not just top it off), inspect the joint depth, re-clean, and reinstall fresh polymeric sand following the manufacturer’s spec. Doing it in the cooler shoulder seasons improves the cure outcome. A cover-up with fresh sand spread on top without removing the failed material will look right for one season and then fail again.
We work with the material manufacturers Bellgard, Unilock, Techo-Bloc, and Cambridge Pavers on installs and repairs, which means we can source the specific joint sand the paver was specified for instead of whatever’s on the pallet at the supply yard.
Repair vs. Re-Lay: The Ten-Year Decision
Homeowners ask us weekly whether a failing paver section needs a repair or a full re-lay. The honest answer depends on two things: how much of the base is compromised, and how old the installation is. A well-installed driveway with one localized failure is a repair candidate. A driveway whose base was wrong end to end is a re-lay, because every repair will chase the same settlement across the property. Here’s the decision framework we use.
Repair extends paver life when:
- Failure is localized to less than roughly 20% of the total area.
- The base under intact sections is compact and sound when probed.
- The pavers themselves are in good condition, without widespread cracking.
- Edge restraint is intact away from the failure zone.
- The driveway is otherwise performing: no widespread sand washout, no repeated efflorescence after cleaning.
Full re-lay makes better economic sense when:
- Failure zones cover more than about a third of the drive or recur in new spots each season.
- Probing the base shows soft spots, low compaction, or inconsistent depth under the pavers.
- The original install used insufficient sub-base, missed caliche transitions, or skipped proper edge restraint throughout.
- The joints have failed repeatedly after re-sanding, signaling a base that allows ongoing moisture movement.
- You’re planning to keep and use the driveway for a decade or more; a failing base means repeated repair costs.
The ten-year math is straightforward: a repair done correctly costs a fraction of a re-lay and buys years of service. But if the base was never right, repair costs accumulate and the cumulative spending approaches what a proper re-lay would have cost anyway, just spread across frustration. Getting an honest assessment of the base before committing to either path is where a written estimate earns its keep.
When we’re budgeting a re-lay, we spec the base materials and edge restraint up front and confirm what will be reused. Pavers can often be salvaged and reset on a new base, saving material cost. When they can’t, upgrading to a designer paver from Belgard, Unilock, Techo-Bloc, or Cambridge Pavers gives you a driveway that holds value longer than commodity concrete would.
How to Prevent Repeat Failures
Prevention comes down to doing the base right the first time and matching the repair to the actual cause rather than the visible symptom. For a homeowner living with a paver driveway in Boulder City, the practical prevention steps are simple.
- Manage irrigation overspray: Aim sprinklers at planting beds, not hardscape. Recurrent moisture on pavers drives efflorescence and joint sand breakdown.
- Re-sand joints promptly when they open: Joint sand loss is the earliest warning that the assembly is losing integrity. Annual inspection in early spring catches problems before summer heat amplifies them.
- Inspect edge restraint annually: Walk the driveway perimeter. If a restraint is rising, spreading, or loose, address it before the pavers loosen further.
- Keep heavy loads where the driveway was designed for them: RVs, boats, and dumpsters parked on paver aprons that were built for foot traffic will eventually cause restraint and joint failure.
- Fix the first failure correctly: Don’t top-dress a rocking section with fresh sand and call it done. Pull the pavers, evaluate the base, and repair the actual cause.
- When you replace, upgrade the base specification: Full-depth sub-base in proper lifts, correct edge restraint, and a base detail that handles Boulder City’s caliche transitions pays back across the life of the drive.
Small annual maintenance, done consistently, keeps most pavers performing for many years. When a repair is needed, doing it at the right level (bedding only, base, or restraint) prevents the “chase one issue at a time” cycle that drives homeowners to a full re-lay prematurely.
Common Mistakes to Avoid
- Assuming the pavers are defective. Most failures we see in Boulder City originate below the surface. The paver is rarely at fault; the base or the sand joint is.
- Top-dressing the joints with sand only. Filling the joints without addressing joint depth and cure leaves the assembly hollow. The failure reappears after the next monsoon.
- Re-sanding without checking the base. If pavers are rocking because the bedding is gone, fresh joint sand won’t fix the movement. The cause is the layer the sand sits on.
- Spiking a new edge restraint into old, loose soil. Edge blowout will recur unless the restraint sits on compacted base with correct spike depth.
- Pressure-washing efflorescence off without fixing the moisture source. The white haze returns within a month because the salts keep migrating.
- Repairing a caliche void without opening it. Backfilling over a concealed pocket in the desert sub-base leaves a collapse waiting to happen.
- Accepting an estimate with no base detail. A per-square-foot number without describing sub-base depth, edge restraint, and joint sand tells you almost nothing about how the driveway will perform in five years.
See the difference
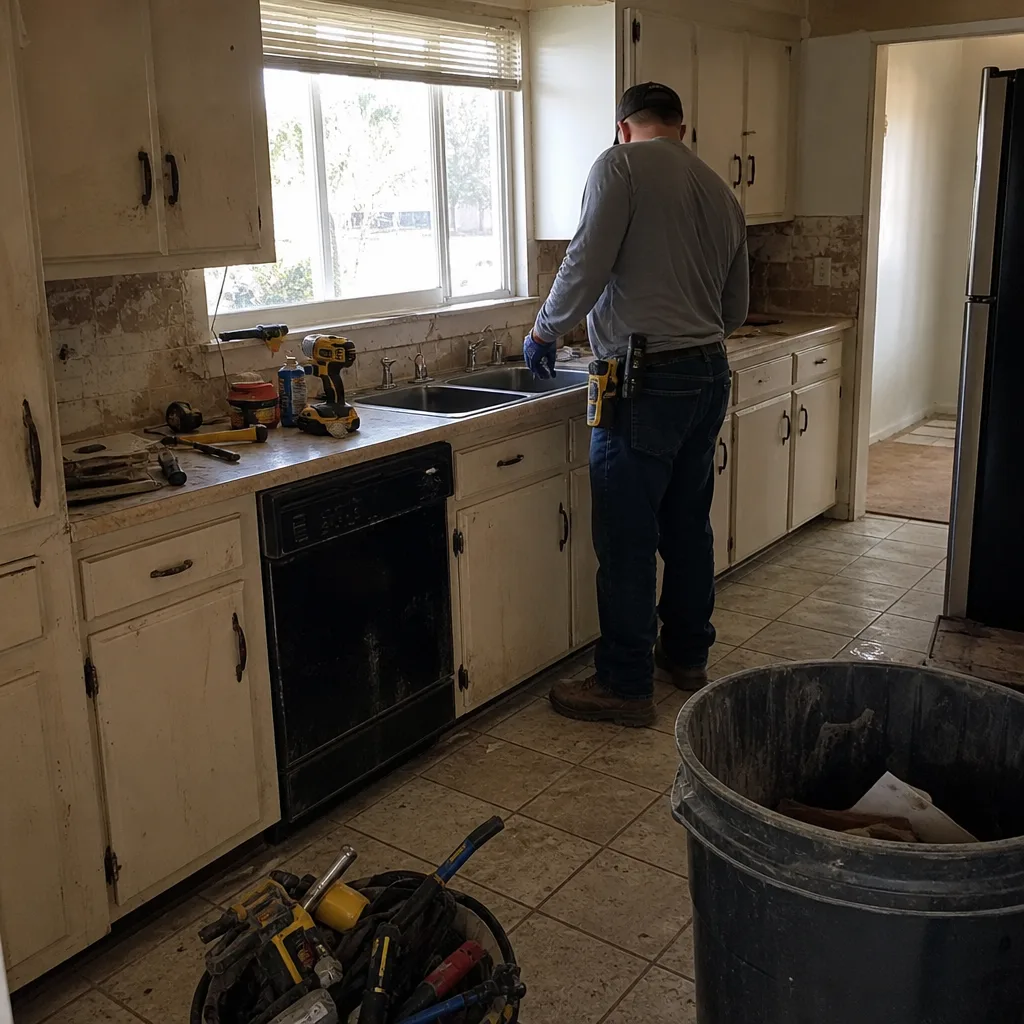 Before
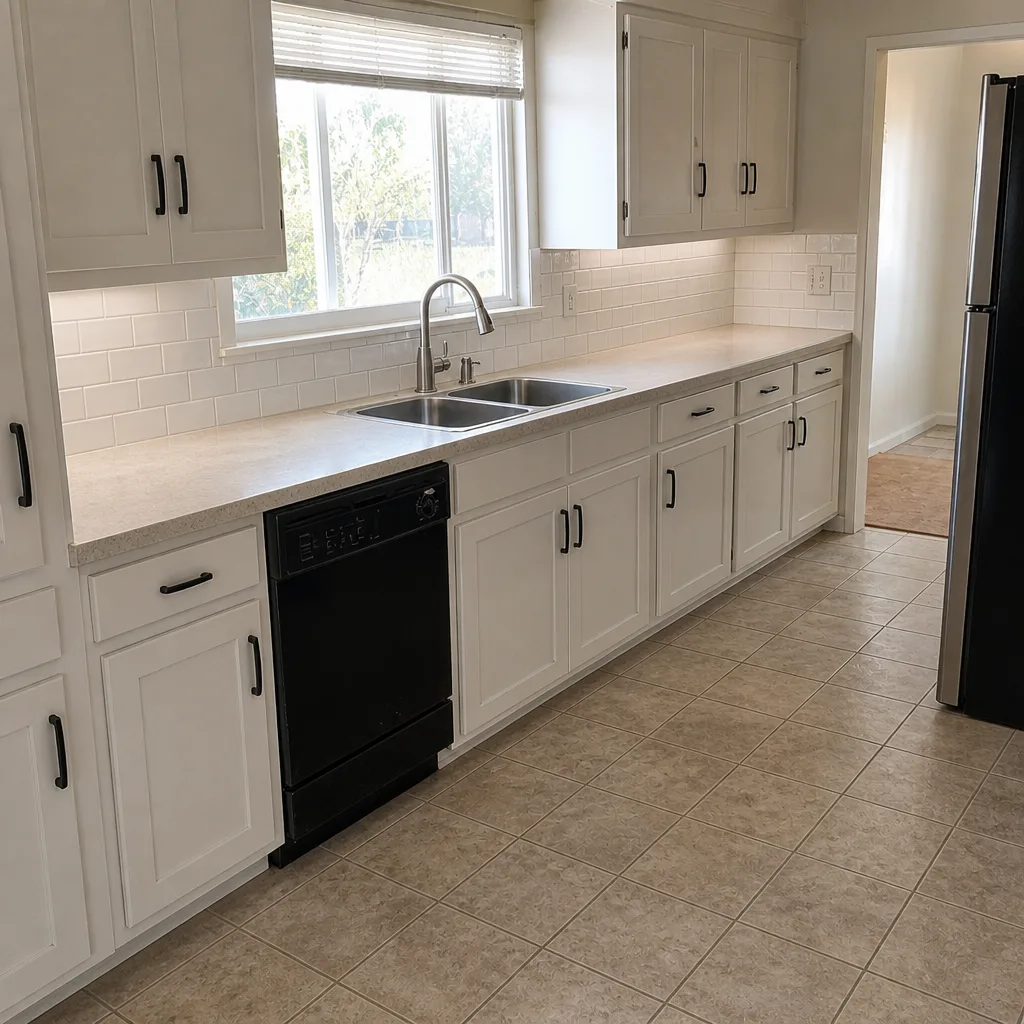 After
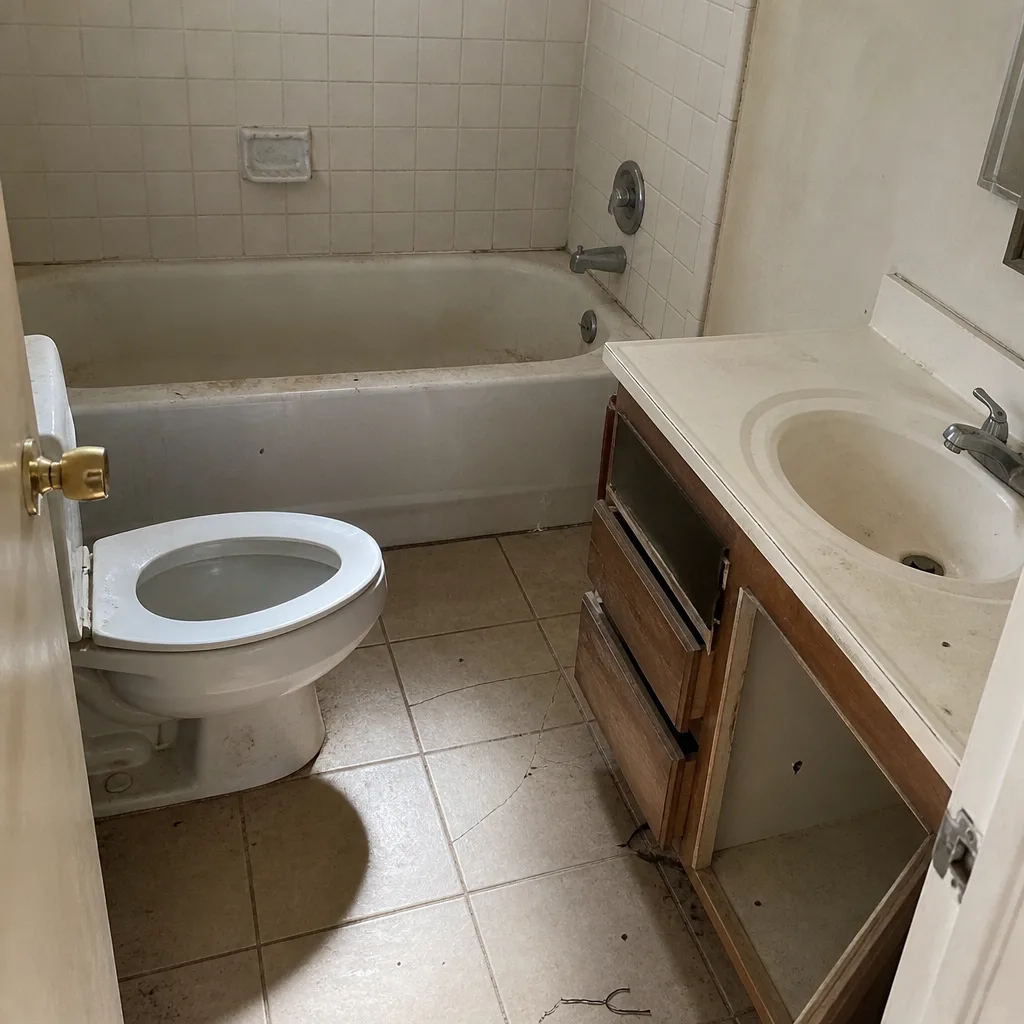 Before
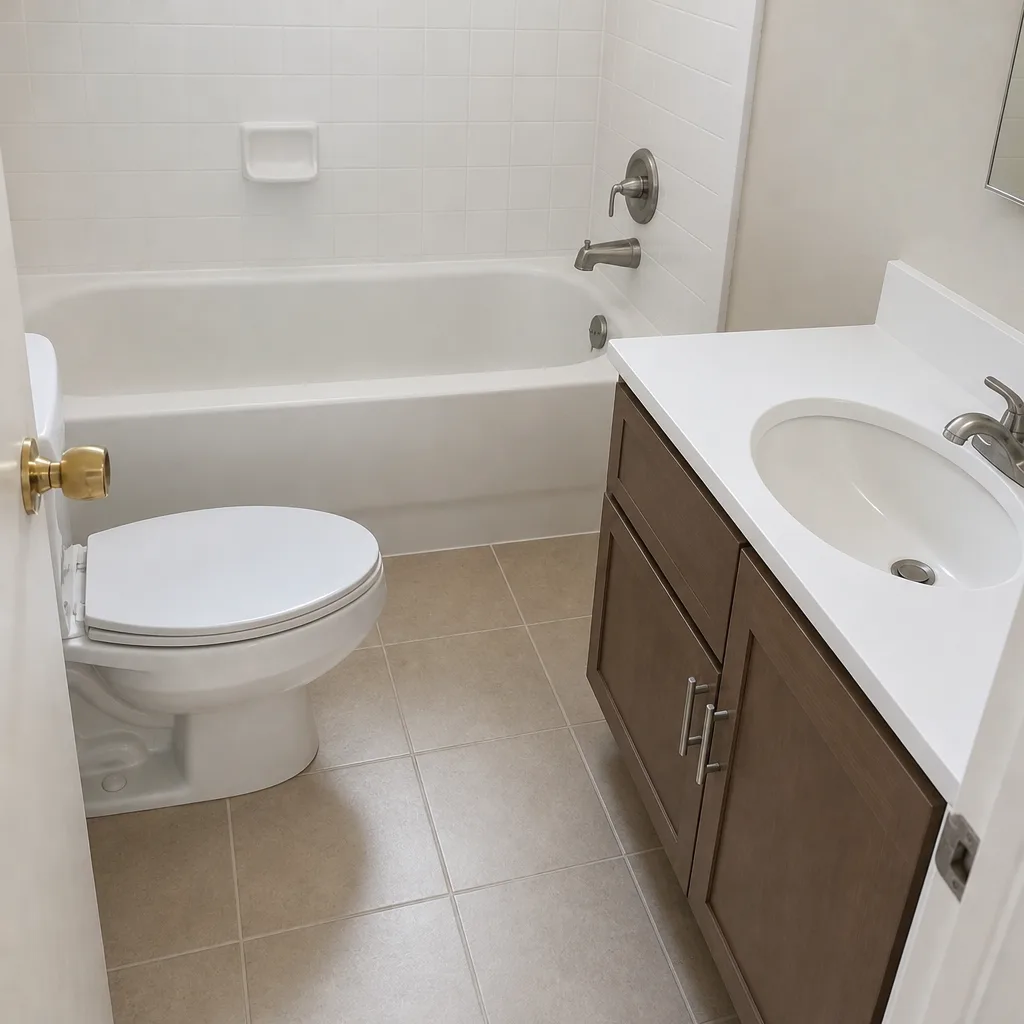 After
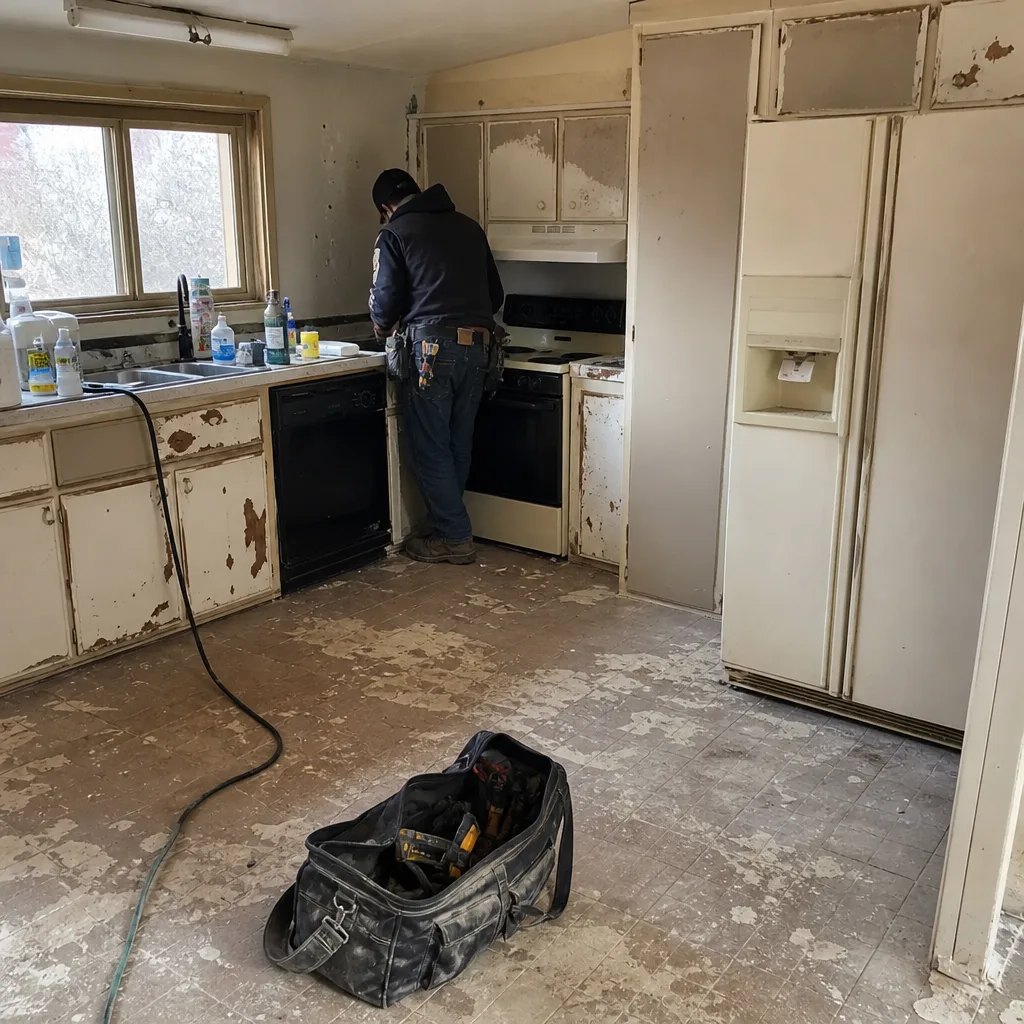 Before
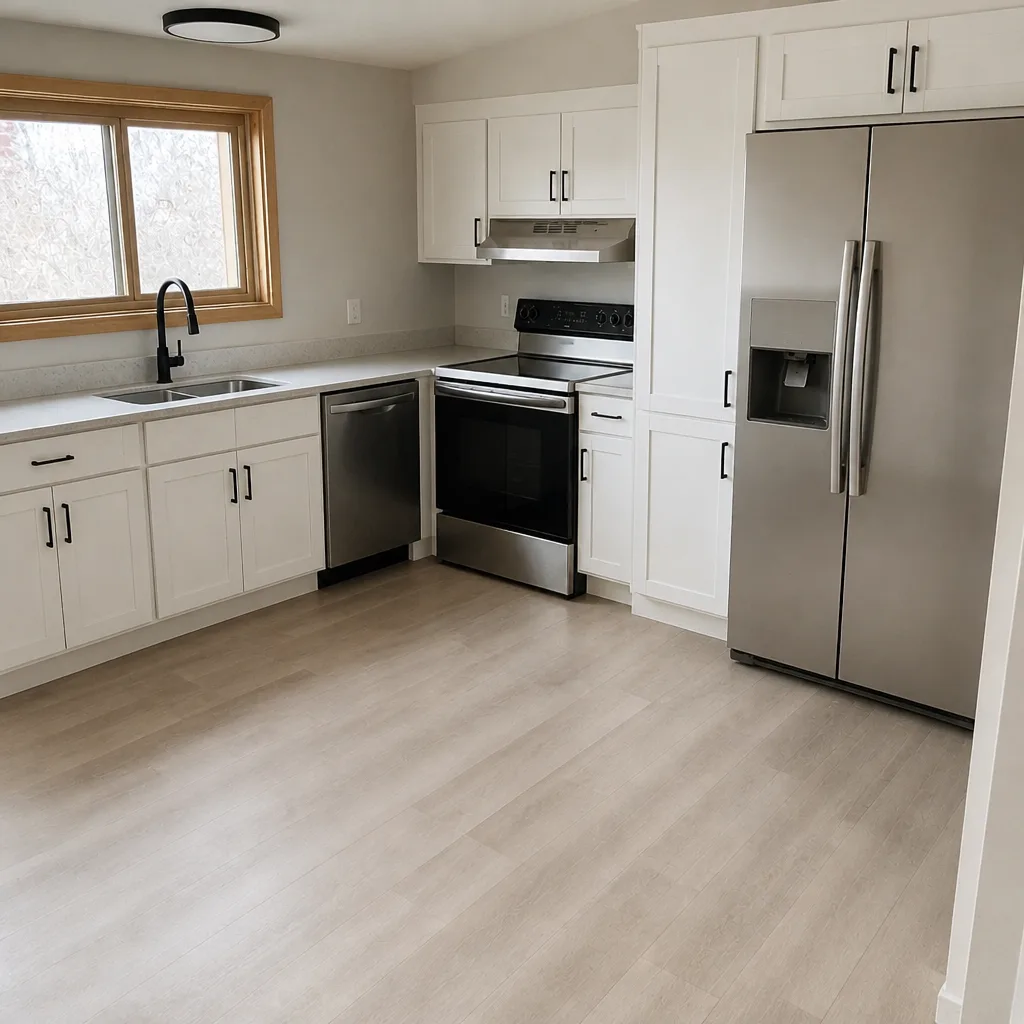 After
When to Call a Professional
Some repairs are genuinely homeowner-friendly: sweeping in a little joint sand, adjusting a sprinkler head, or repositioning a paver that tipped over. But base repairs, edge restraint replacement, caliche void repair, and re-lays are jobs for a trained paver crew. Lifting a properly set paver assembly without breaking paver edges takes technique; compacting a new sub-base correctly in lifts takes the right equipment. Getting the diagnosis wrong is expensive: a homeowner who re-sands a sinking section spends money and ends up back where they started within a season.
Call a professional when the failure is more than a single paver, when the edge is spreading, when the white haze returns after cleaning, or when you can’t tell whether a section is settling or the whole driveway is. We offer free estimates in Boulder City and give written, line-item assessments so you know exactly what the base looks like and what the repair involves. Call (888) 329-9854. We answer 24/7. Fast dispatch from 7am to 7pm, Sunday through Friday.
Frequently Asked Questions
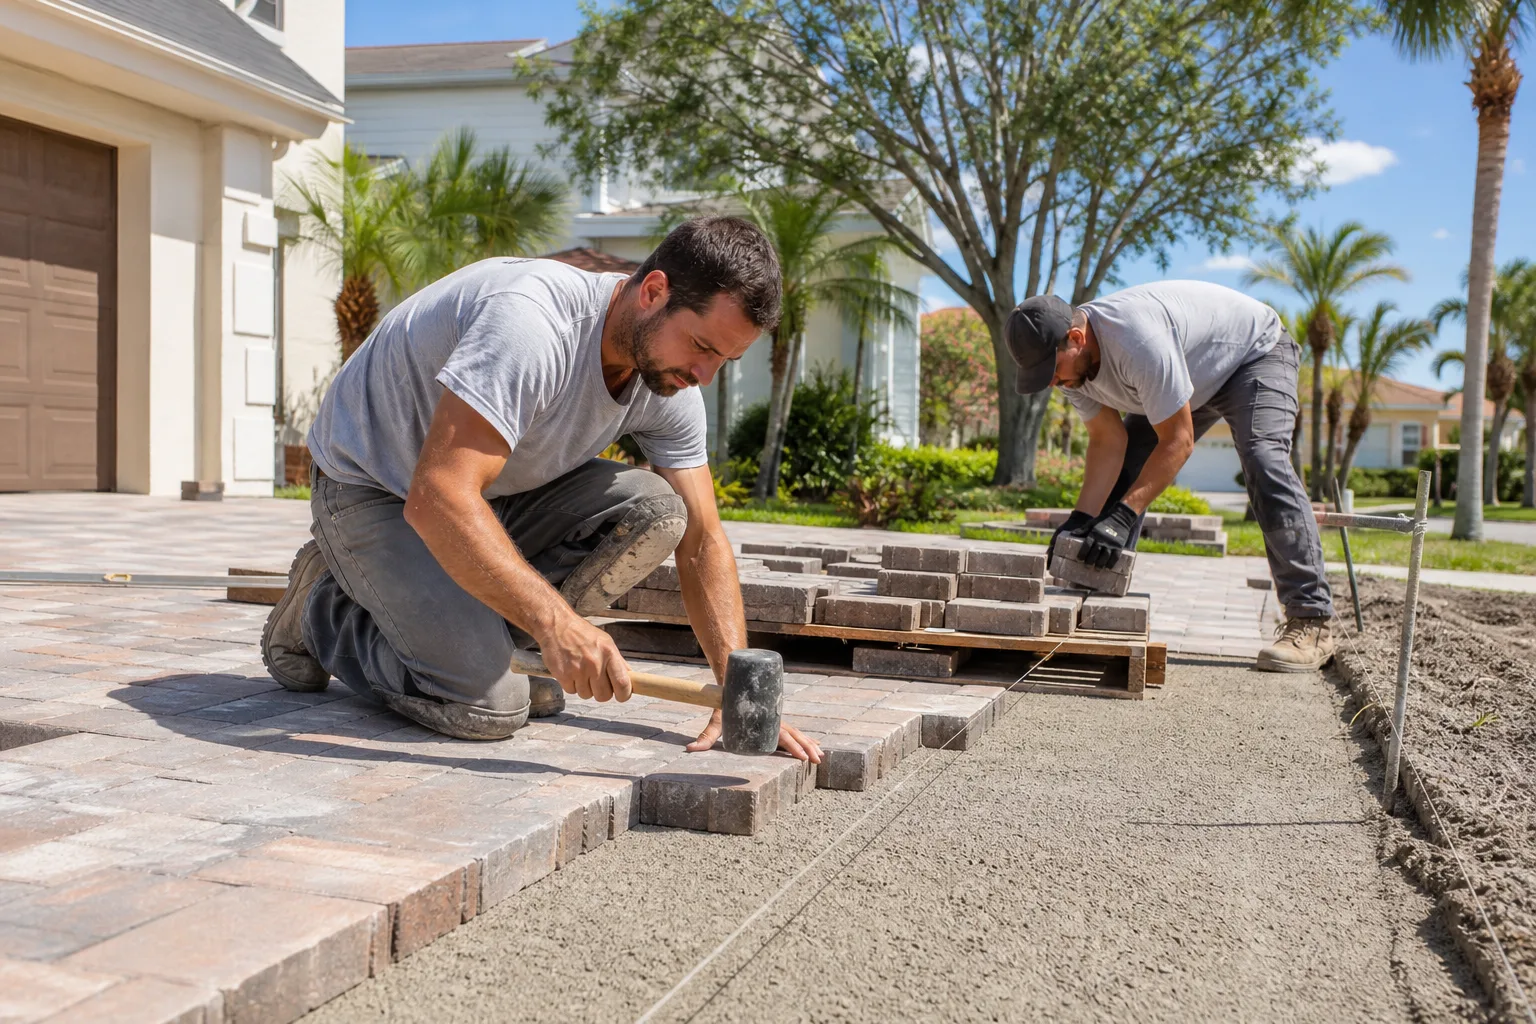
Pavers sink in Boulder City when the sub-base under them was inadequately compacted or when excavation disrupted the caliche layer and left concealed voids. The sinking pattern tells you which: a wide, uniform dip over a large area points to compaction failure, while a tight localized drop usually means a caliche void that collapsed. Either way, the fix starts below the pavers, not at the paver face. Call (888) 329-9854 for a base assessment and a written estimate.
Re-sanding alone won’t fix rocking pavers if the bedding sand under the unit has disappeared. Fresh joint sand fills the gaps between pavers but does nothing for a paver that’s lost its support from below. The correct repair lifts the affected units, re-levels the bedding material, and resets, then re-sands. Call (888) 329-9854 for an exact quote; estimates are free.
The white haze is efflorescence, meaning water has carried soluble salts to the paver surface where they’ve crystallized as the water evaporates. It’s cosmetic, not structural, but recurring haze means ongoing moisture movement under the pavers, usually from irrigation overspray or a drainage problem. Cleaning alone doesn’t solve it; the moisture source has to be addressed. Call us to walk the site if the haze keeps coming back after cleaning.
Repair a section when the failure is localized (under roughly 20% of the area) and the base under intact sections is sound. Re-lay the full driveway when failure zones recur in new spots each season, when probing shows soft sub-base across the drive, or when the original install used insufficient base depth. The ten-year cost math favors repair when the base is good and re-lay when it isn’t. Call (888) 329-9854 for a free estimate on both options.
No. We set the price per job with a written, line-item estimate before any work begins, and the written estimate sets the final price. If we open the base and find something the estimate didn’t cover, like a concealed caliche void, we stop and give you a revised written scope rather than run up the bill. Call (888) 329-9854 to schedule the estimate. Estimates are free.
We handle the whole assembly: excavation, sub-base, edge restraint, pavers, and joint sand. That matters on a repair because the failure you see at the surface almost always traces to the base or the restraint, and those have to be addressed together to be permanent. We work with Belgard, Unilock, Techo-Bloc, and Cambridge Pavers on the paver spec and carry a full-range capability spanning the exterior and interior of the home. Call (888) 329-9854 to schedule a site visit.
The Bottom Line
Pavers fail from the bottom up, and most of what goes wrong in Boulder City originates in the base prep or the edge restraint, not in the pavers themselves. Rocking, sinking, efflorescence, and edge blowout each point to a distinct root cause, and diagnosing the symptom correctly is what separates a repair that lasts from a repair that repeats within a season. Watch the joints, adjust the irrigation, inspect the edge annually, and don’t top-dress a rocker. When the base itself is the problem, call in a crew that will open it up and fix it right. Whether you need a repair, a re-lay, a coordinated exterior scope alongside fence installation, or a full home additions & ADU build once the driveway is solid, one contractor across every phase keeps the schedule and the warranty conversation clean.
Our technicians have up to 13 years of experience with paver installation, base repair, and the caliche transitions that trip up desert installs. For broader work around the property, from the roofline down to the driveway, our team at Boulder City Construction handles roofing, windows and doors, fencing, kitchens, bathrooms, and additions as one coordinated scope. Kitchen and bath work is spec’d with premium surfaces like Cambria, Silestone, and Caesarstone and fixtures from Kohler when the project reaches that stage.
Ready to know what your driveway actually needs? Call (888) 329-9854 for a free estimate. We answer 24/7. Fast dispatch from 7am to 7pm, Sunday through Friday. The written estimate sets the final price, permits and inspections are handled on our side where they apply, and workmanship is backed by our warranty, so the fix you get is the fix you keep.
Written by the team at Boulder City Construction.